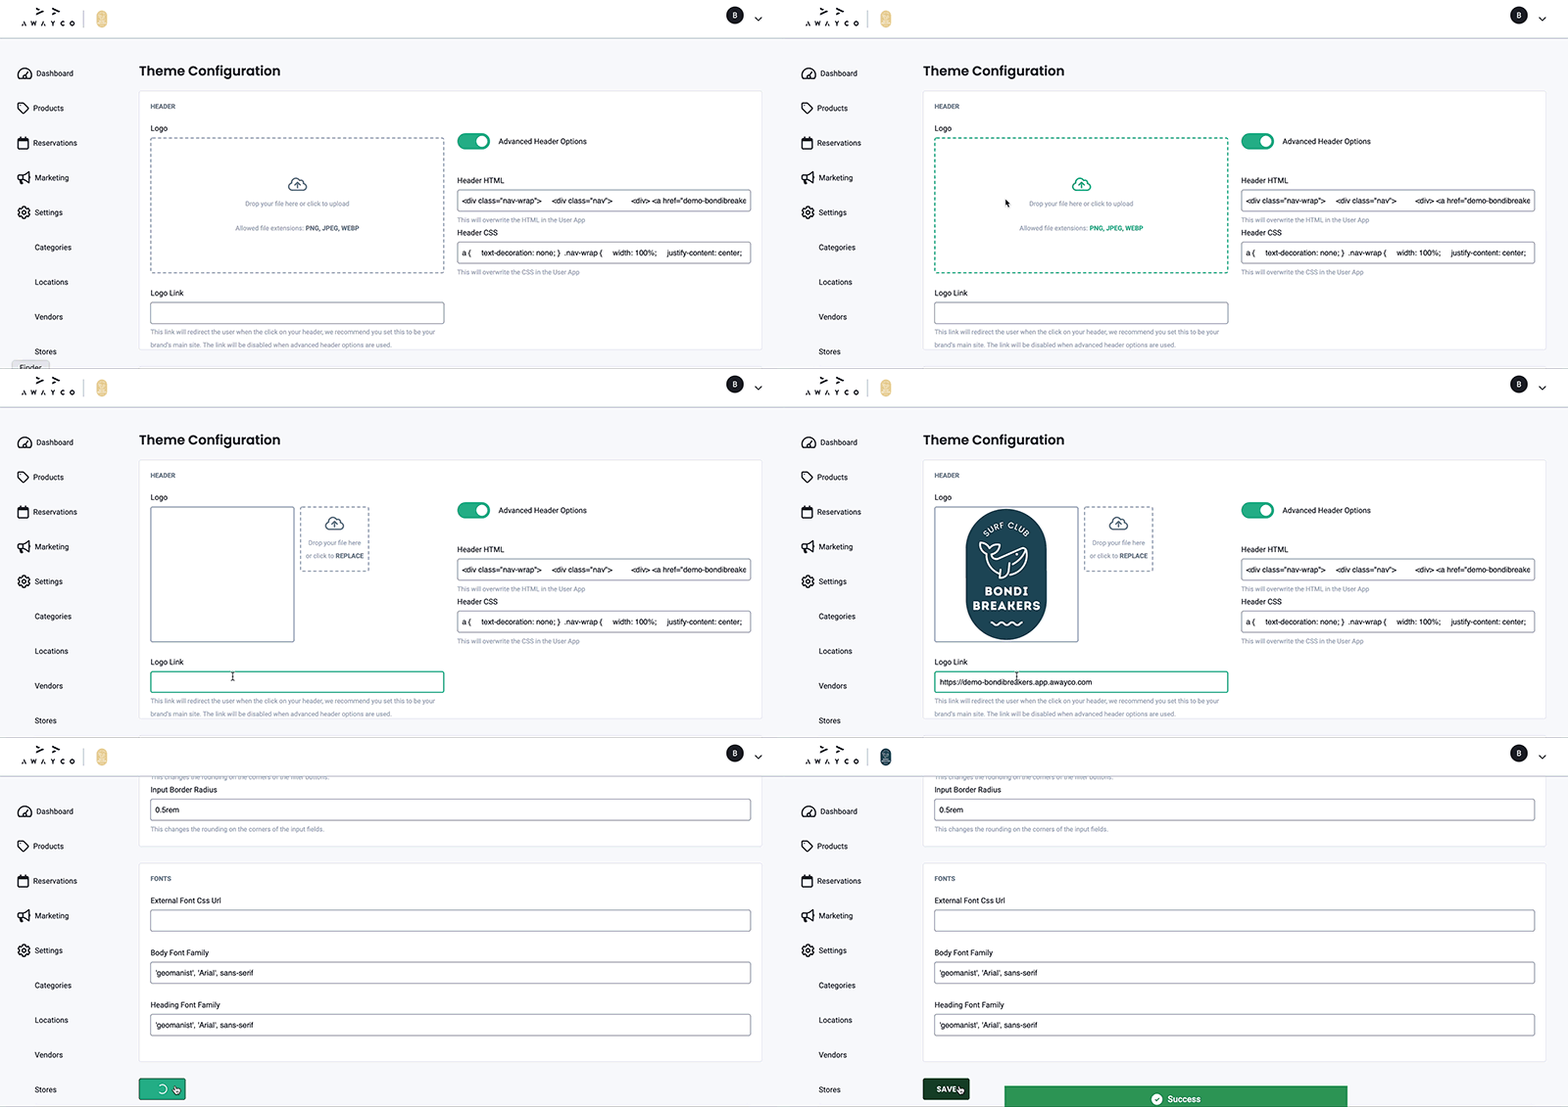
Your store logo is displayed on your web store and as an icon within your Admin and Point-of-Sale apps. It must be uploaded in both the Store and the Theme tabs. This article will teach you how to:
- Add a store logo
- Edit a store logo
Upload a Logo
Store Creation
The logo must be uploaded when creating your store. Read our guide on store creation.
- Navigate to the Store tab in the Admin app, under Settings in the sidebar.
- Click the create store button and fill out the rest of the store creation page.
- Upload the logo.
- Click the create store button.

Theme Editor
- Navigate to the Theme tab in the Admin app, under Settings in the sidebar.
- Turn off the advanced header options toggle.
- Upload the logo.
- Enter the link to your website. When customers click on your logo they will be taken to your website.
- Click the save button. The logo will now appear on your web store.

Edit a Logo
Store Editor
- Navigate to the Store tab, under Settings in the sidebar of the Admin app.
- Click the name of the store to open the store editor page.
- Click the edit store button at the bottom of the page.
- Upload the logo.
- Click the save button at the bottom of the page.
Theme Editor
- Navigate to the Theme tab in the Admin app, under Settings in the sidebar.
- Upload the logo.
- Enter the link to your website.
- Click the save button. The logo has now been updated.
