
Your store is the brick-and-mortar location where your stock is held and products can be picked up and returned by renters. It is possible to have multiple stores, but each Awayco web store must have at least one store before products can be rented out. This article will teach you how to:
- Create your first store
- Add additional stores
- Edit existing stores
Create A Store
Creating a store involves two major steps:
- Add a location
- Add a store
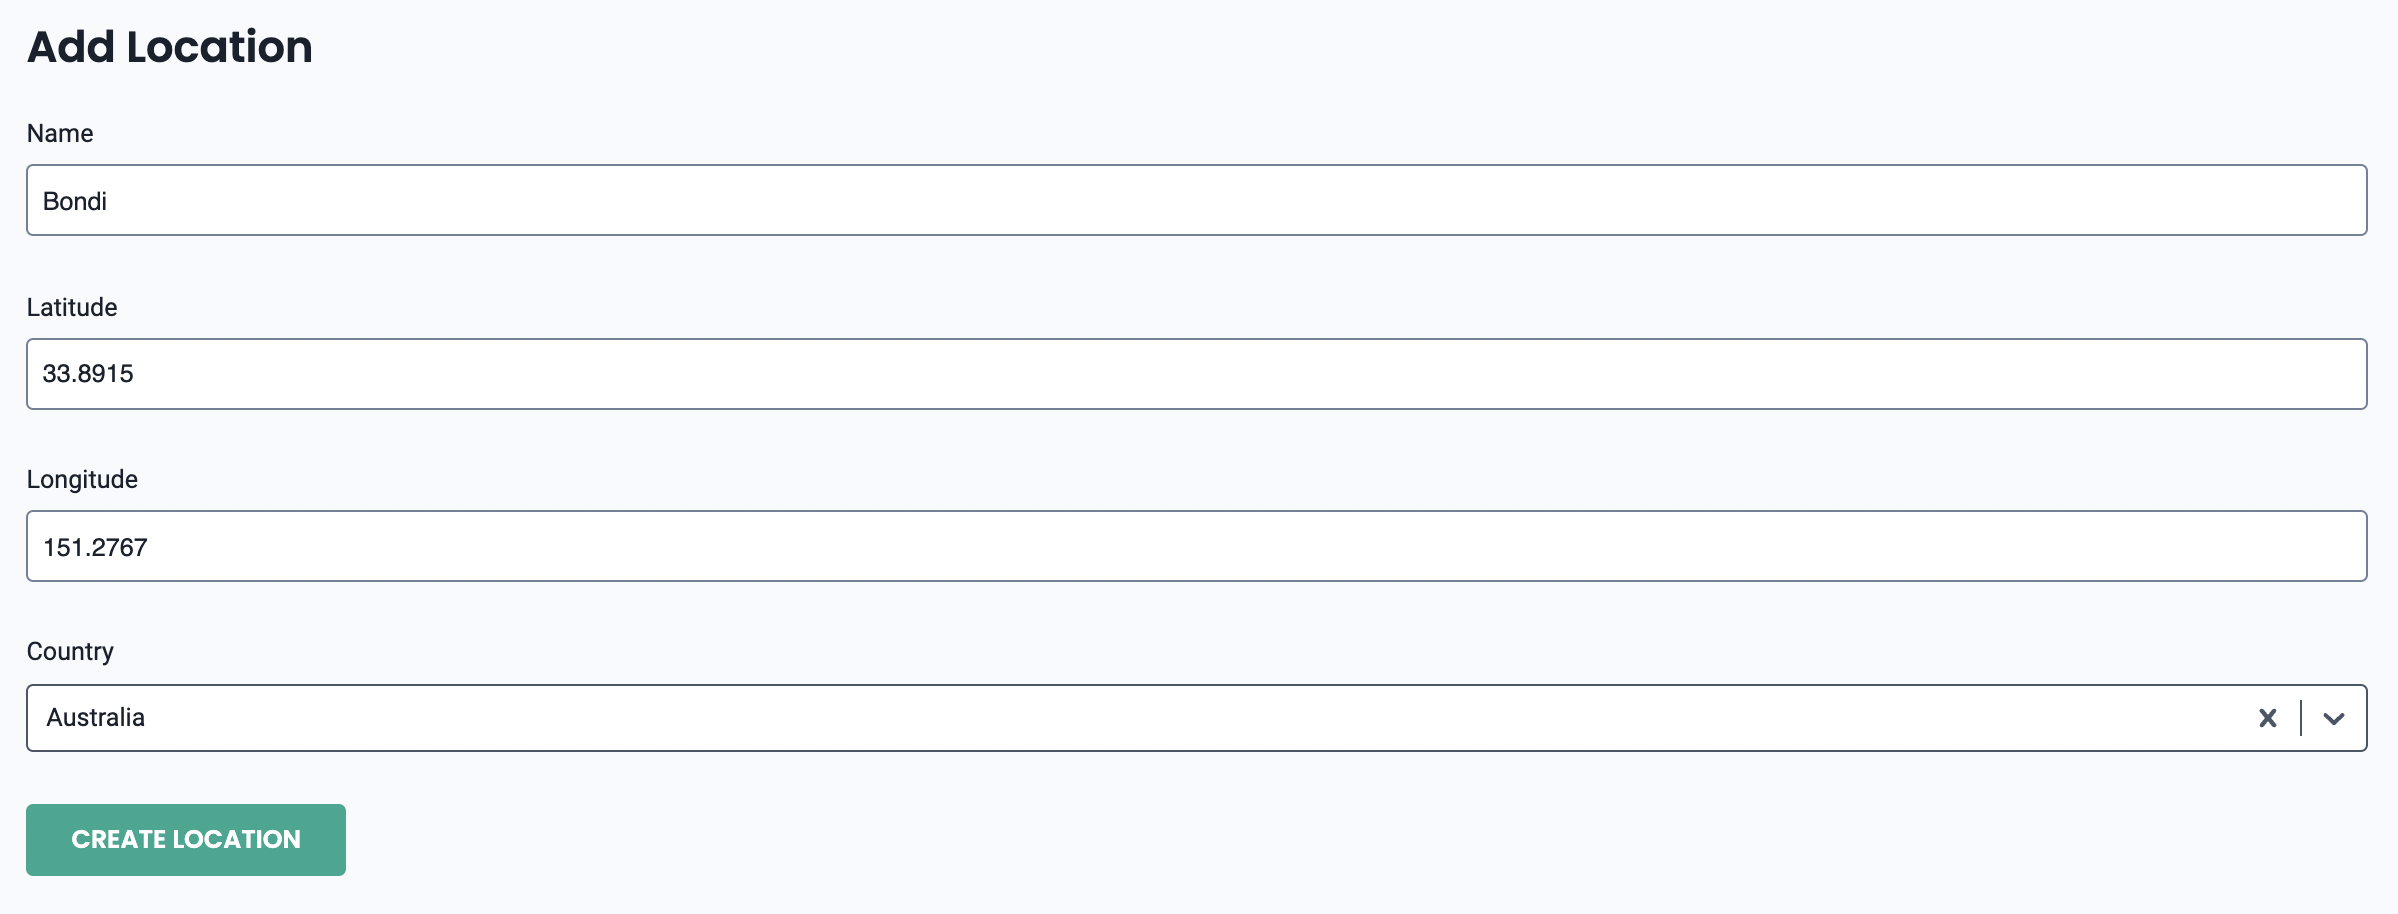
Add a Location
The location is the city or suburb where your store is located. It is possible to have multiple stores associated with one location. The location determines the timezone of your store hours and the local currency.
- Navigate to the Locations tab, under Settings in the sidebar of the Admin app.
- Click the add location button in the upper right corner.
- Write the name of the location, e.g. 'Bondi' or 'Sydney'.
- Enter the latitude and longitude of the location. We recommend googling the location name, longitude and latitude.
- Select the country from the dropdown menu.
- Click the create location button.
Add a Store
There are three different sections in the store creation form: store details, opening hours, and fulfilment options. To fill out each of these sections, follow the steps below.
- Navigate to the Stores tab, under Settings in the sidebar of the Admin app.
- Click the add store button in the upper right corner.
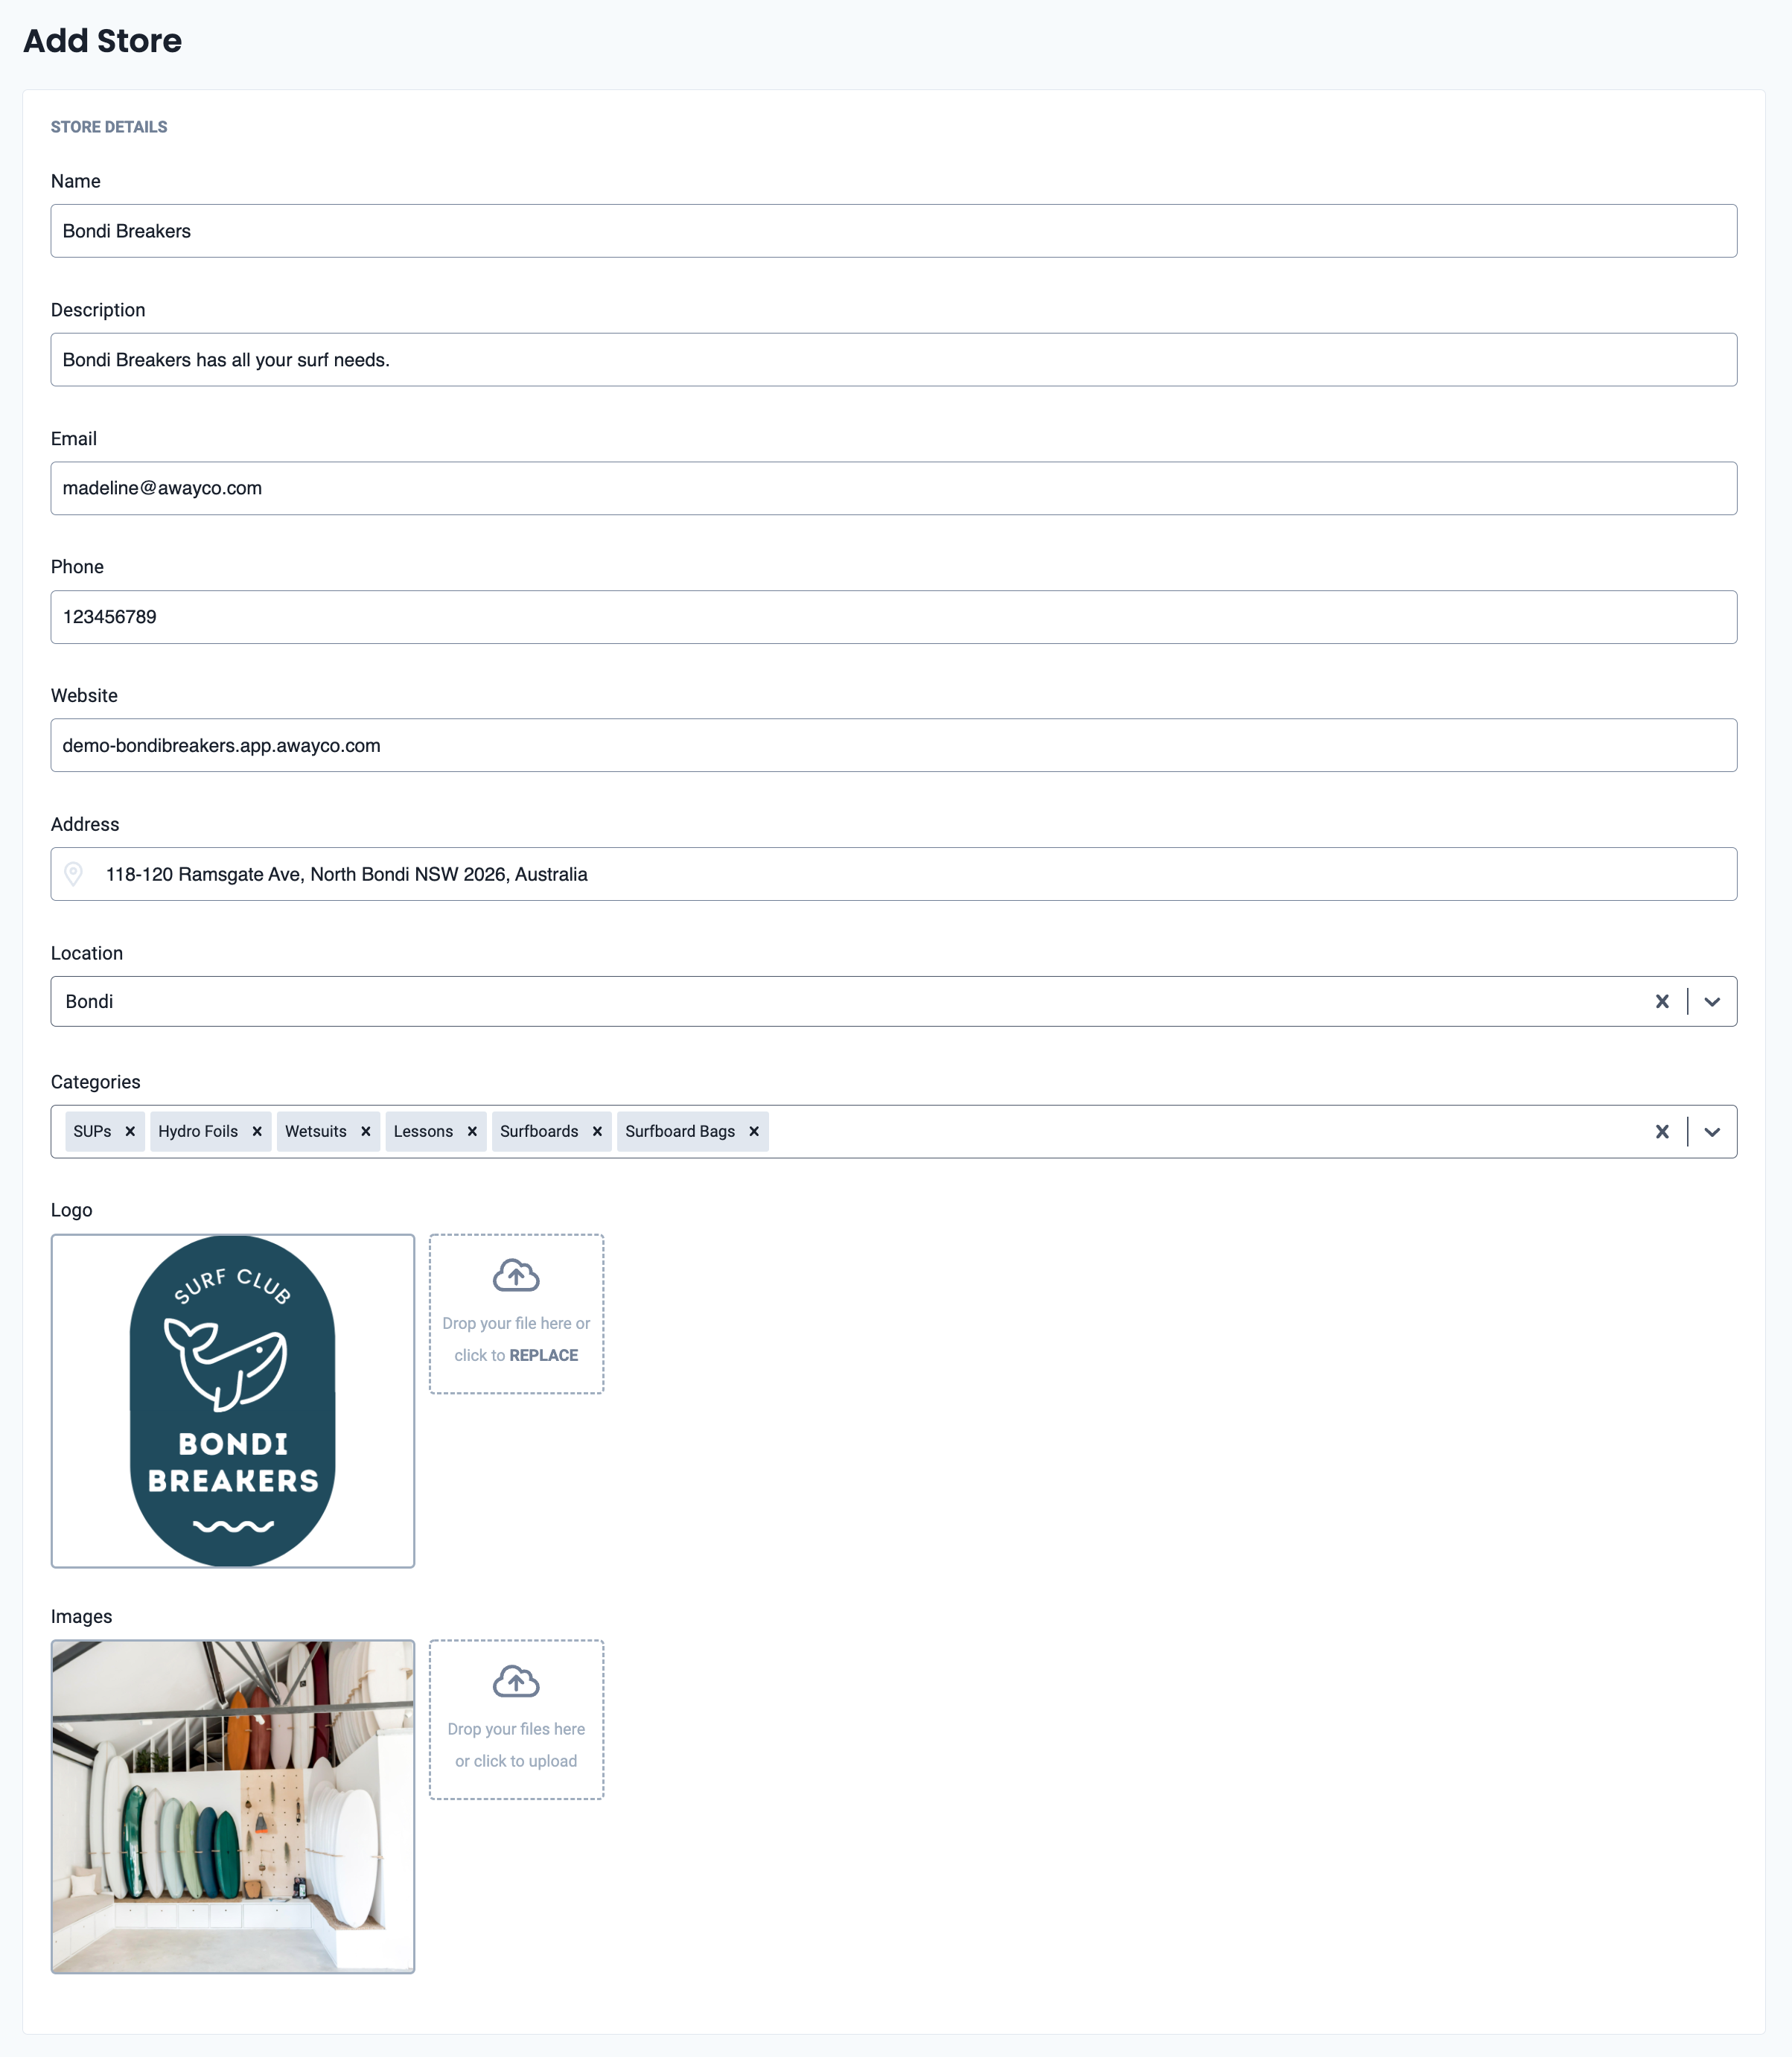
Store Details
- Under the store details section, enter the name of the store.
- Enter the description of the store, this is your 'about us' section. There is no limit on the word count.
- Enter the contact email of the store. This email will receive all correspondence about bookings, cancellations, etc.
- Enter the contact phone number of the store.
- Enter your website URL. If your Awayco web store is your main website, enter your Awayco URL instead.
- Enter the store address in the text box. The text box will suggest addresses based on what you've entered, select the correct address from the dropdown menu.
- Select your previously created location.
- Enter the product categories. You can create these by typing in the text box.
- Upload your store logo. This will need to be uploaded a second time in the Theme tab for it to appear on your web store.
- Upload images of your store.
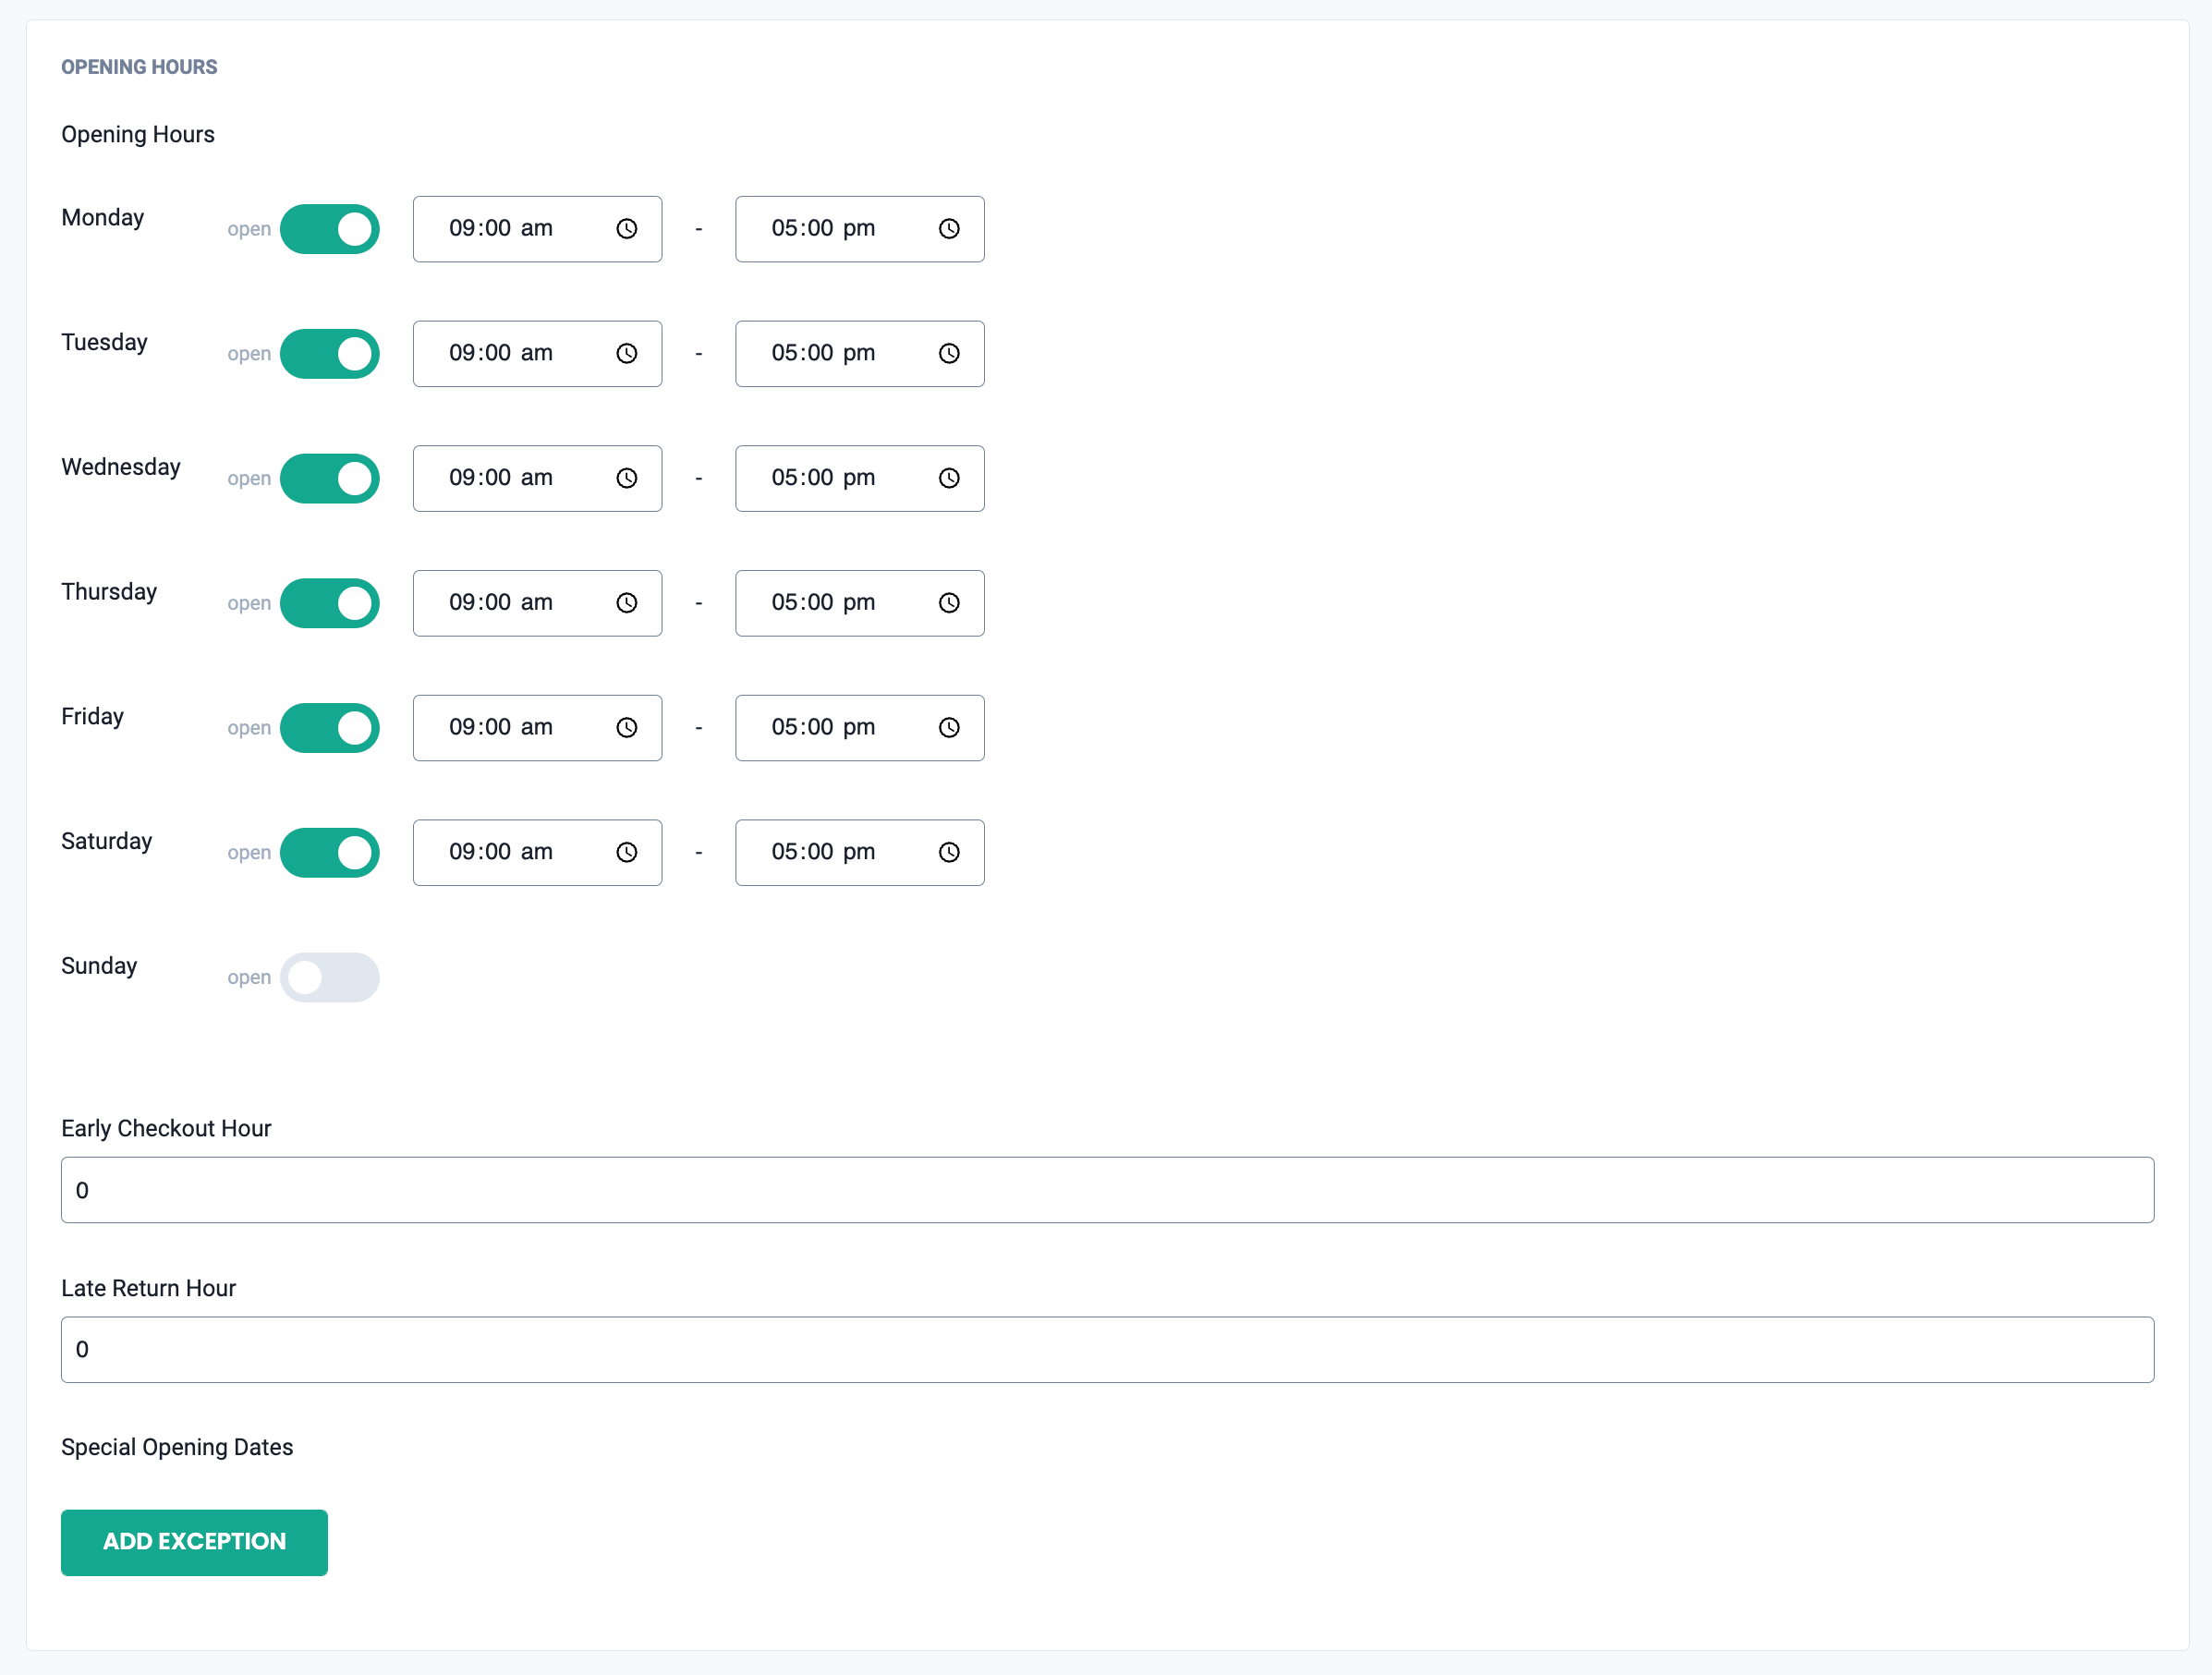
Opening Hours
- Scroll down to the opening hours section.
- Enter the store opening hours by toggling on each of the days your store is open. Click the clock icon and enter the open and closing hours.
- Enter the early checkout hour. This is the number of hours before opening that a customer can pickup their rental. Enter 0 if a customer cannot pickup a rental before opening.
- Enter the late return hour. This is the number of hours after closing that a customer can return their rental. Enter 0 if a customer cannot return a rental late.
- If there are special dates when your store hours differ, for example Christmas day, enter a special opening date by selecting the add exception button.
- Select the date from the calendar picker and toggle if the store is open or closed.
- If open, click the clock icon and enter the open and closing hours.
In-Store Fulfilment
- Scroll down to the in-store fulfilment section. This is where you enable or disable the option for in-store pickups and returns.
- Check the 'enable' box to allow customers to pick-up and return rentals at the store.
- Check the 'allow in-store bookings to be extended' if customers can extend their bookings.
- In the text box, set the number of days before the final day of the booking that a customer can extend their booking.
- In the in-store fulfilment options text box, write in the instructions for staff as they check out items in the PoS app.
Delivery Fulfilment
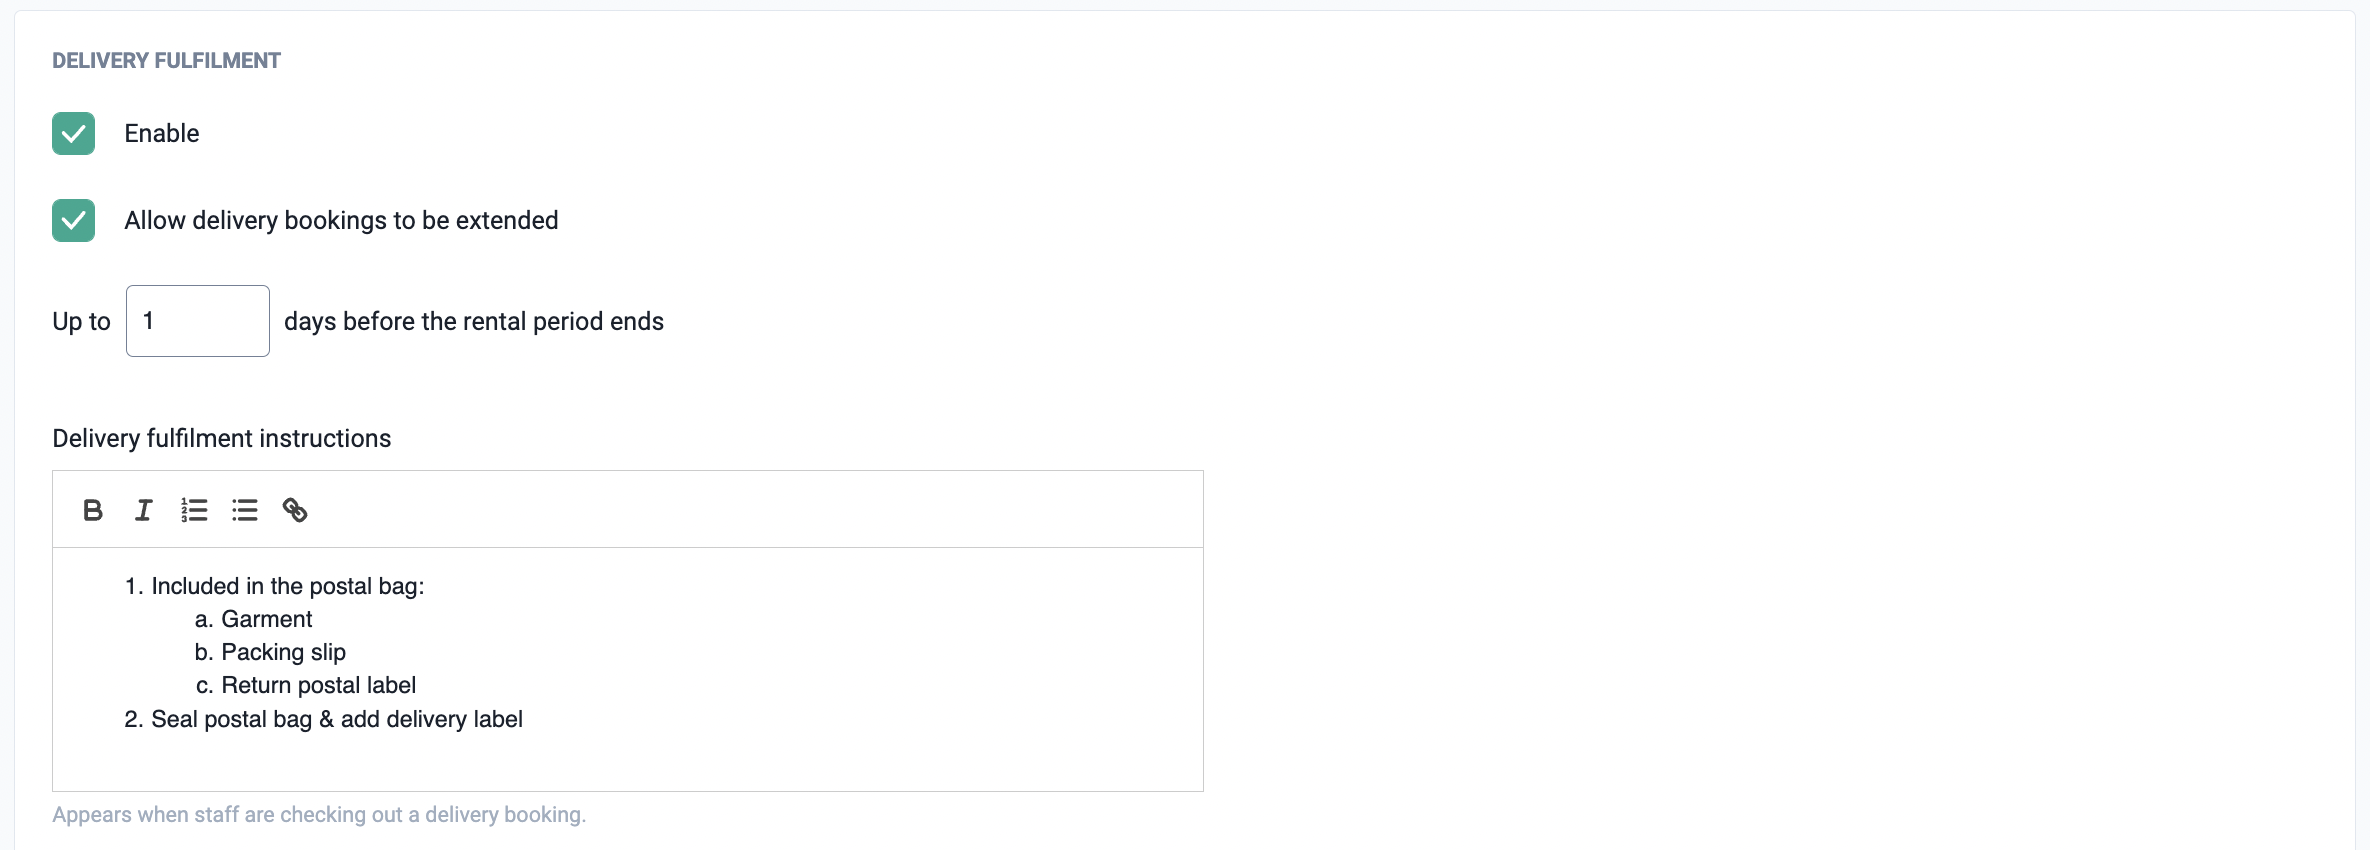
- Scroll down to the delivery fulfilment section.
- To allow delivery, check the 'enable' box.
- If customers can extend bookings requiring shipping, check the 'allow delivery bookings to be extended' checkbox. If customers cannot extend their booking, leave this blank and skip step 5.
- Input the number of days before the final day of the booking that the customer can extend their booking. The default is zero, i.e. on the final day of the booking the customer can choose to extend their booking.
- In the text editor, write the instructions for staff when fulfilling the booking. This will appear in the PoS app when checking out a booking.
Delivery Fees
Additional fees can be automatically charged at checkout for rentals requiring delivery.
- In the Stores tab in the Admin app, scroll down to the delivery fulfilment section.
- The default delivery charge is $0.00, change this to how much is to be charged for delivery. The charge is per booking, not per item. Therefore, a customer will be charged the same delivery fee for one item or multiple items. Keep this in mind when determining how much to charge for delivery.
- If you wish to make delivery free for bookings over a certain price, enable the 'no charge for total over' checkbox.
- The default is $0.00, change this to how much a customer must spend to be eligible for free delivery.

Delivery Instructions
The delivery instructions update the text on customer emails and different web store pages. This will provide customers instructions on how the store's delivery works.
- In the 'delivery summary' text box, write a brief description of the delivery services. This will appear under the delivery tab on a product's page on the web store.

- In the 'logistics summary' text box, write how the customer will receive their booking. This will appear on the calendar when customers are selecting their rental dates, so they can make an informed decision about when to order their rental.

- In the 'delivery explanation' text box, write the instructions for receiving and returning the delivery. This will appear at checkout and on their booking confirmation email.

- In the 'return instructions' text box, write the instructions for returning the rental to the store. This will appear in the customer's return reminder email.

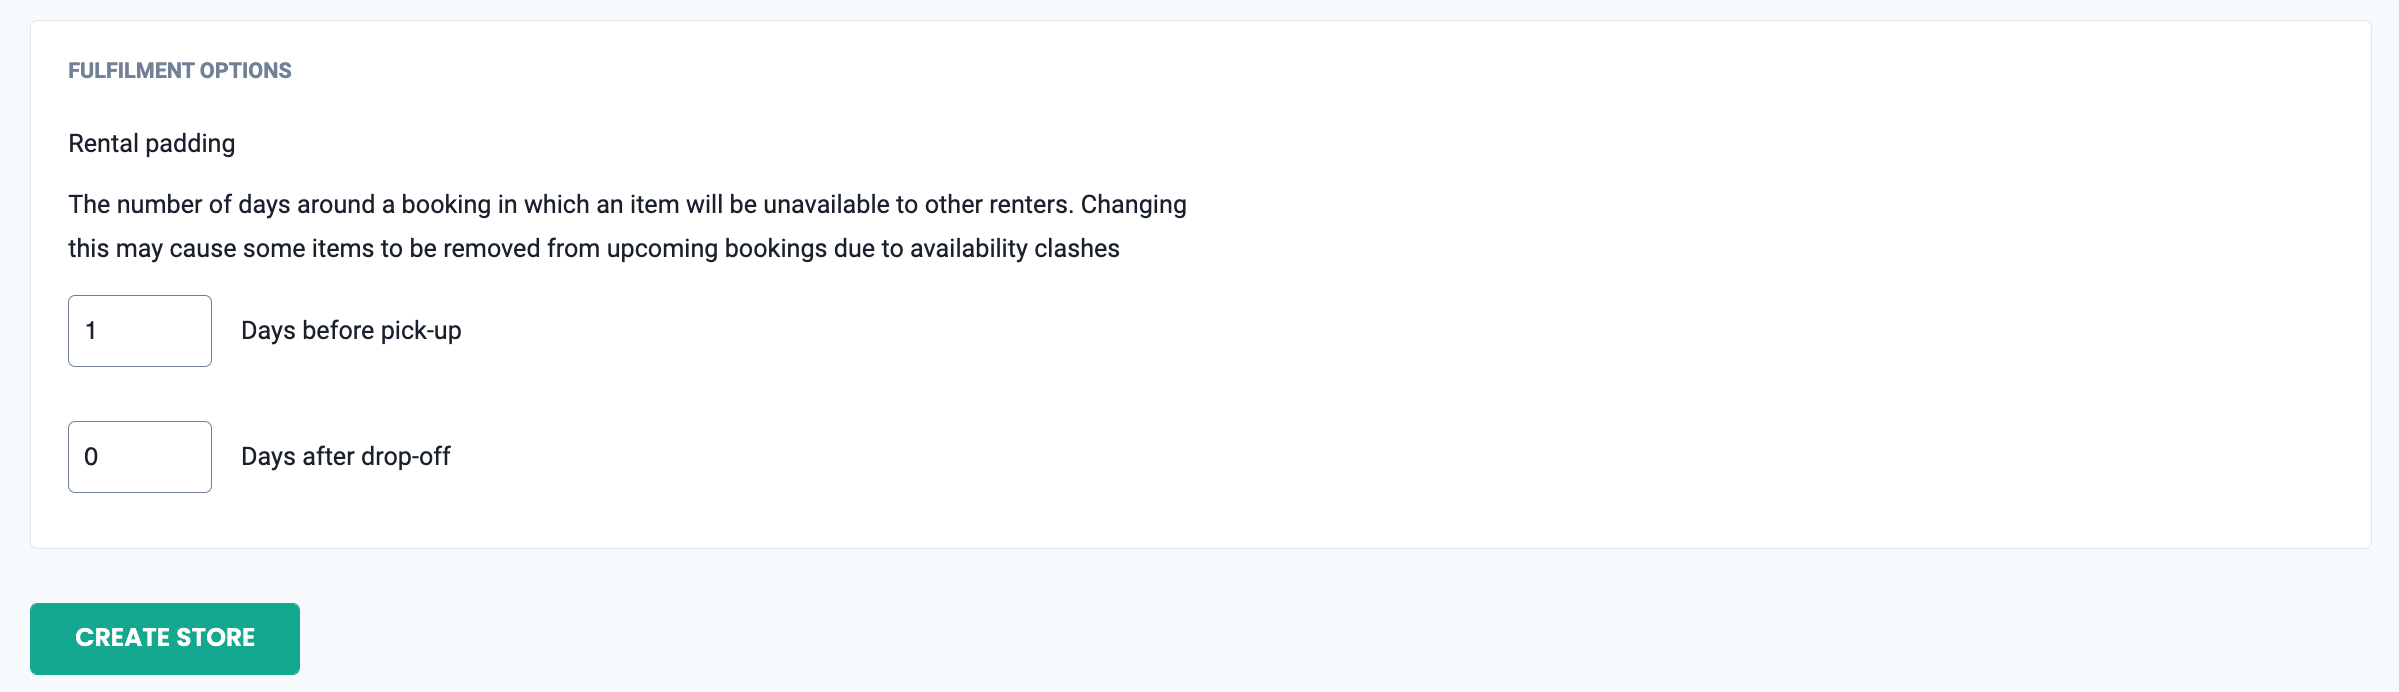
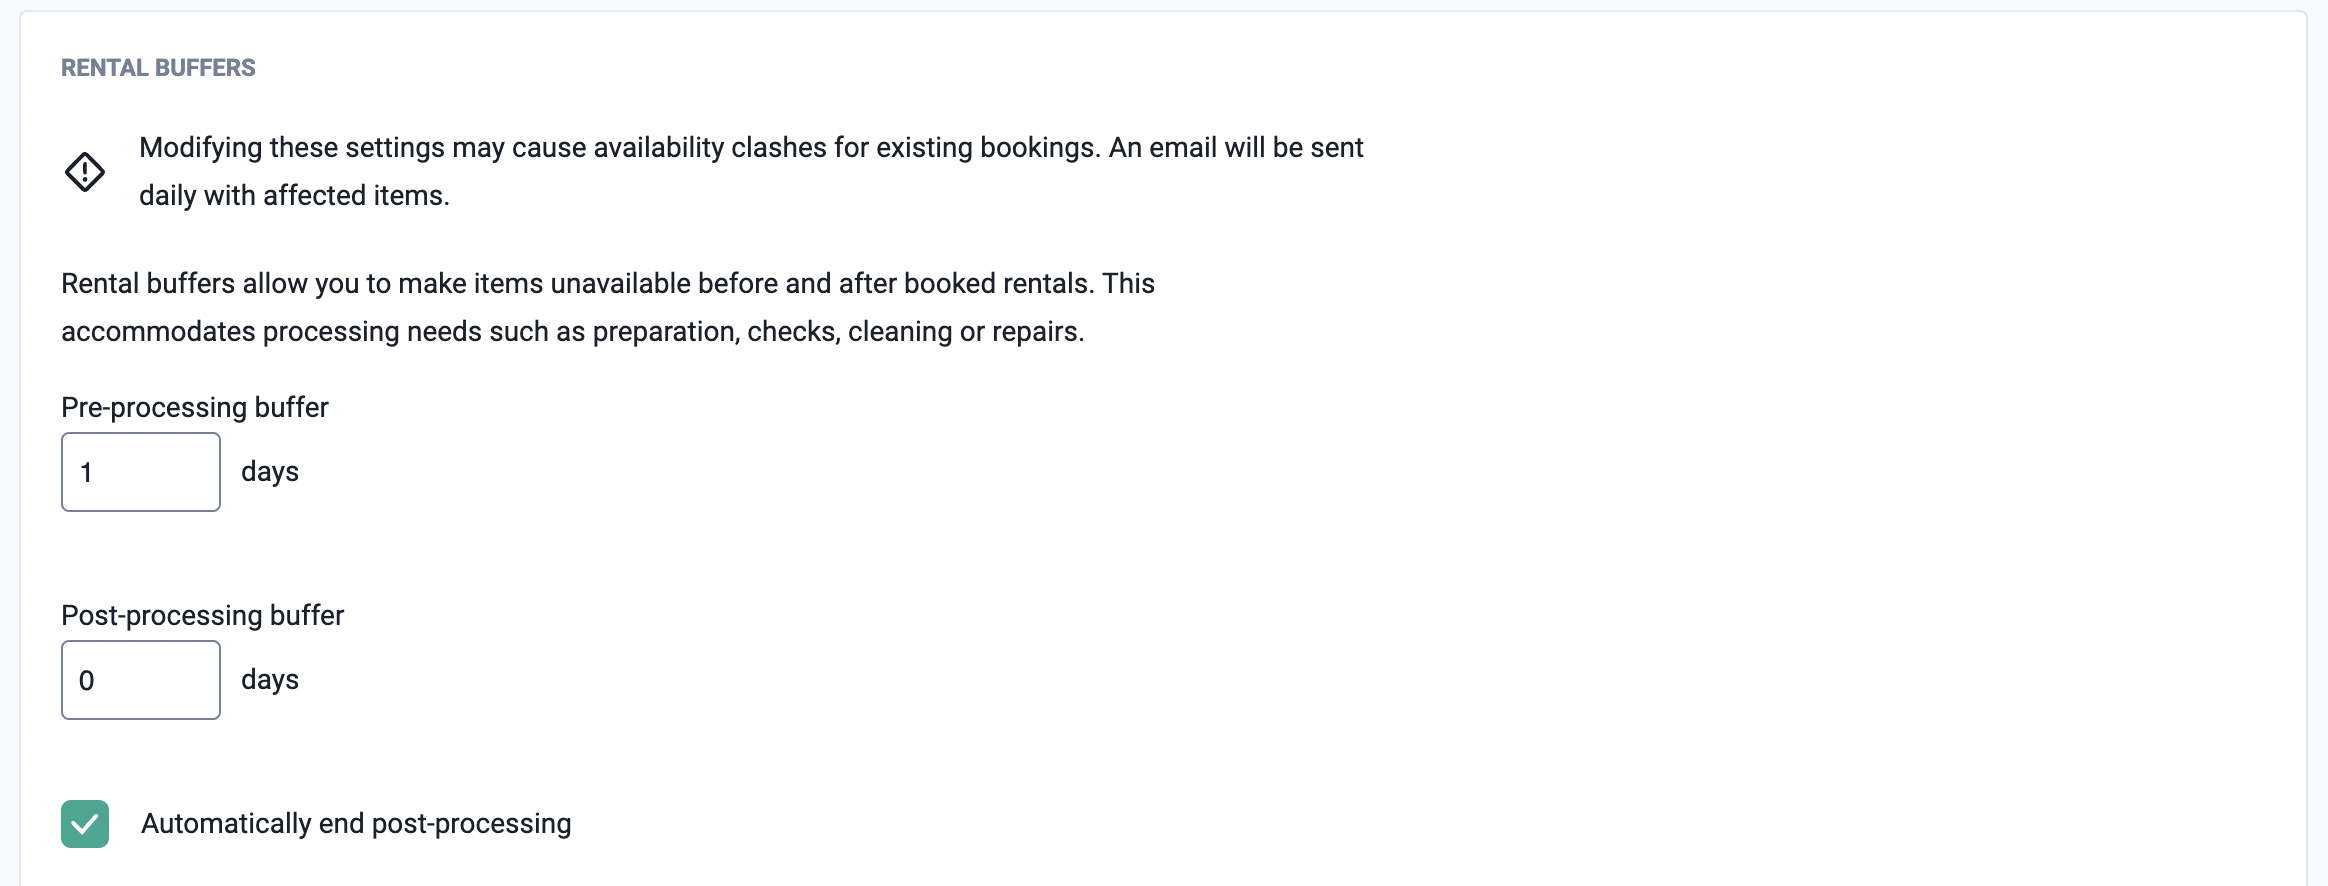
Rental Buffers
The rental buffers feature is the number of days before or after a booking that a product will be unavailable to other renters. Rental buffers give more power to determine when customers can rent products. There are two possible buffers: the processing buffer and the delivery buffer.
The processing buffer provides control over the availability of items before or after a booking period.
- To enable a processing buffer, in the 'pre-processing' and 'post-processing' text boxes, write the number of days before or after a booking period that the rented product is not available to other customers to rent.
- If the buffer has been enabled, you can select the 'automatically end post-processing' checkbox. If chosen, a returned product will automatically have its status changed to 'in stock', if not selected, staff must manually change its status in the PoS app to make the product available for other customers to rent. Read the guide here.
- To disable the processing buffer, ignore steps 1–2 and leave the 'pre-processing' and 'post-processing' text boxes as zero.
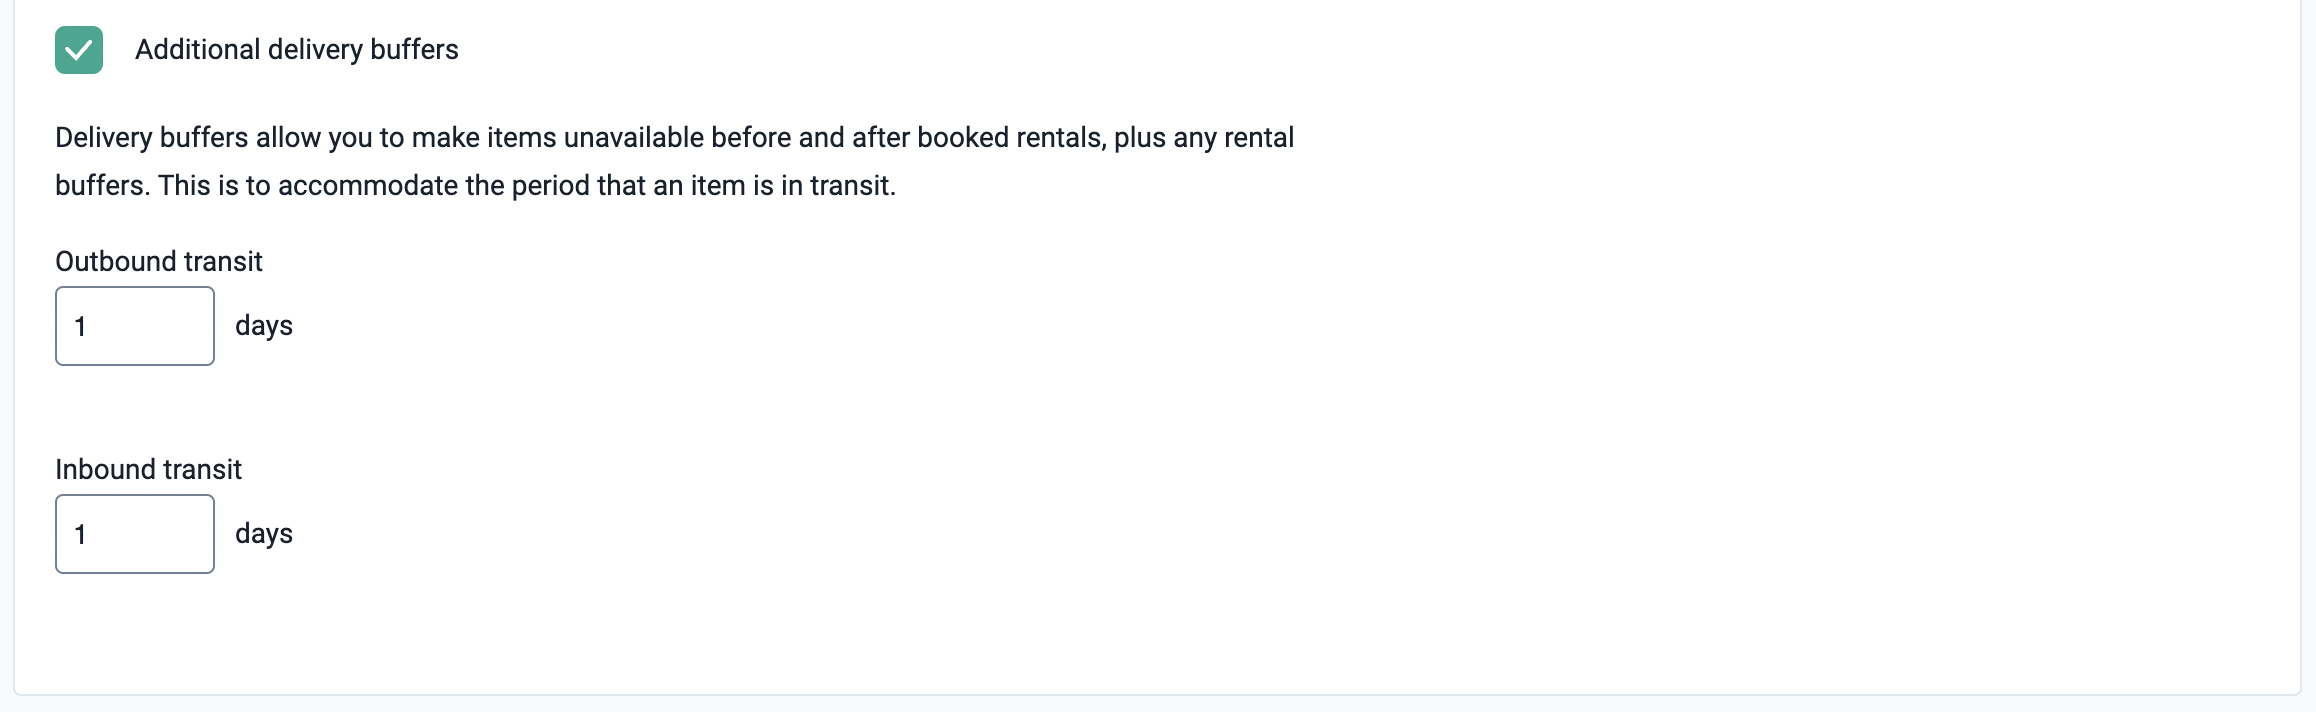
The delivery buffer accommodates when a rental is in transit. This is in addition to the processing buffers.
- To enable a delivery buffer, select the 'additional delivery buffers' checkbox.
- In the 'outbound transit' and 'inbound transit' text boxes, write the number of days a rental will require for delivery and return.
- If no buffer is required, leave both text boxes as zero.
Add Additional Stores
Additional stores are created in the same manner as your first store. Follow the above steps to create the store, followed by adding new products and Point-of-Sale app (PoS) users.
Please contact support@awayco.com to have multiple stores displayed on your web store.

Edit Stores
- Navigate to the Store tab, under Settings in the sidebar of the Admin app.
- Click the name of the store to open the store editor page.
- Click the edit store button at the bottom of the page.
- Make the required changes.
- Click the save button at the bottom of the page.